Homemade Apple Butter: An Incredible Secret Recipe You’ll Love
Homemade Apple Butter is a wonderful way to capture the essence of autumn in a jar. This rich and velvety spread is packed with flavors that are both sweet and spicy, making it a delightful addition to your breakfast table or a charming gift for loved ones. Making apple butter at home allows you to control the sweetness and spices, tailoring the recipe to your preferences. The process not only fills your kitchen with the amazing aroma of cooked apples but also creates a comforting treat that can be enjoyed year-round.
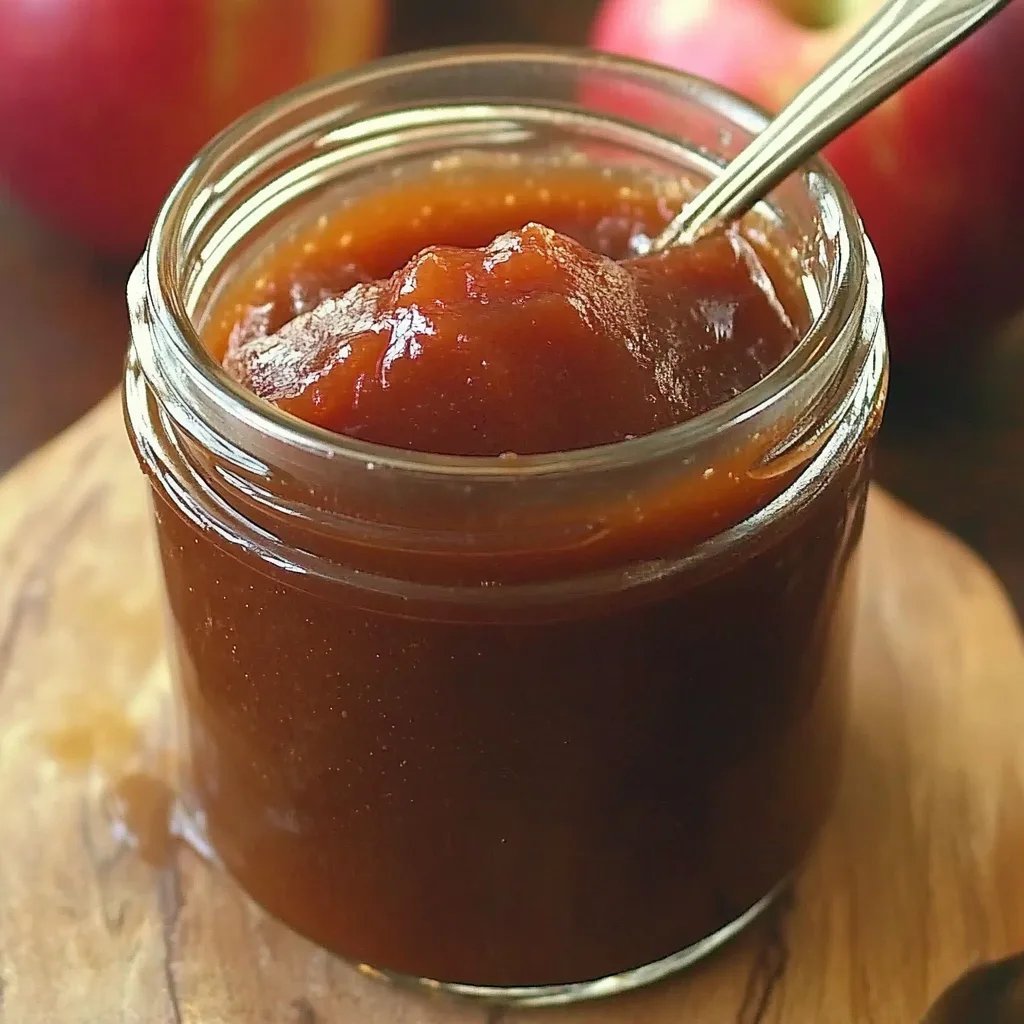
Have you ever tasted freshly made apple butter? If not, you’re in for a treat! The rich flavors blend seamlessly, offering warmth and nostalgia with every bite. It’s not just a spread; it’s an experience that speaks of cozy fall days, family gatherings, and cherished memories. In this guide, you’ll uncover why this recipe is your ultimate path to homemade goodness, the steps to make it, and ways to enjoy it just right.
With the right combination of tart and sweet apples, spices, and a hint of natural sweetness, Homemade Apple Butter becomes a favorite staple. The great news is that it’s incredibly easy to make! Whether you’re a skilled canner or a kitchen novice, this recipe will guide you through the steps to achieve incredible results. So, let’s dive into the details and reveal why you’ll love making this amazing Homemade Apple Butter.
Why You’ll Love This Recipe
Homemade Apple Butter offers an irresistible blend of flavors and benefits that make it a kitchen favorite. Here are some compelling reasons why this recipe will win your heart:
1. Simple Ingredients – You likely already have most ingredients on hand!
2. Healthier Alternative – Made with natural sugars, it’s a healthier option compared to many store-bought spreads.
3. Versatile Use – Enjoy it on bread, pancakes, or as a filling for pastries.
4. Perfect for Gifting – Beautifully jarred, it’s a thoughtful gift for any occasion.
5. Long Shelf Life – When properly canned, it can last for months.
6. Easy to Make – Minimal hands-on time, just let your slow cooker or stovetop do the work.
These advantages make Homemade Apple Butter not just a recipe, but a staple that enhances meals and gatherings.
Preparation and Cooking Time
The preparation and cooking time for this delightful apple butter is straightforward. Here’s a quick breakdown to help you plan:
– Preparation Time: 15-20 minutes (for peeling, coring, and slicing apples)
– Cooking Time: 6-8 hours in a slow cooker (or about 2-3 hours on the stovetop)
– Cooling Time: 30 minutes
Overall, you can expect to spend around 7-8 hours from start to finish, most of which is hands-free cooking time.
Ingredients
– 10 cups peeled, cored, and sliced apples (about 6-8 medium apples)
– 1 cup granulated sugar
– 1 cup brown sugar
– 1 tablespoon ground cinnamon
– 1 teaspoon ground nutmeg
– ½ teaspoon allspice
– ½ teaspoon salt
– 1 tablespoon lemon juice
– 1 teaspoon vanilla extract (optional)
Step-by-Step Instructions
Creating delicious Homemade Apple Butter is a simple and rewarding process. Follow these steps for success:
1. Prepare Apples: Peel, core, and slice the apples into small pieces. You can opt for a mix of sweet and tart apples for depth of flavor.
2. Combine Ingredients: In a large bowl, mix the sliced apples with granulated sugar, brown sugar, cinnamon, nutmeg, allspice, salt, lemon juice, and vanilla extract (if using).
3. Transfer to Cooker: Pour the apple mixture into a slow cooker. If using a stovetop, transfer to a large pot.
4. Cook Slowly: Set the slow cooker on low for 6-8 hours or cook on medium heat on the stovetop for 2-3 hours. Stir occasionally to ensure even cooking.
5. Blend: Once the apples are soft, use an immersion blender or regular blender to puree the mixture to your desired smoothness.
6. Thicken: Continue to cook the apple butter uncovered for an additional hour or on the stovetop for 30-45 minutes until it reaches your desired thickness.
7. Sterilize Jars: While the apple butter is thickening, sterilize Mason jars by boiling them in water for 10 minutes.
8. Fill Jars: Carefully pour the hot apple butter into the sterilized jars, leaving about ¼-inch headspace. Wipe the rims to ensure a good seal.
9. Seal and Process: Seal the jars with lids and rings, then process in a boiling water bath for 10 minutes for shelf stability.
10. Cool Completely: Allow the jars to cool completely on the counter, then check that the lids have sealed properly before storing.
Following these steps will lead you to an incredible batch of Homemade Apple Butter that will make your taste buds dance!
How to Serve
To fully enjoy your Homemade Apple Butter, consider the following serving suggestions:
1. Breakfast Spread: Slather apple butter on warm toast, bagels, or English muffins for a comforting breakfast.
2. Pancake Topping: Add a dollop on top of pancakes or waffles for a delightful twist.
3. Sandwich Filling: Use as a filling for grilled cheese or turkey sandwiches for a sweet and savory combination.
4. Dessert Drizzle: Serve over vanilla ice cream or yogurt for a quick dessert.
5. Cheese Pairing: Pair with sharp cheeses on a charcuterie board for a delicious contrast.
6. Gifts: Present in decorative jars to give as thoughtful, homemade gifts during the holidays or special occasions.
With these serving ideas, your Homemade Apple Butter will become a beloved addition to your meals, cherished by family and friends alike. Enjoy the process, and relish the extraordinary flavors that come from your kitchen!
Additional Tips
– Choose the Right Apples: Opt for a mixture of sweet and tart varieties like Granny Smith and Honeycrisp to create a balanced flavor.
– Adjust Spices: Feel free to modify the spices based on your taste preferences. If you love warm spices, increase the cinnamon and nutmeg for a bolder flavor.
– Don’t Rush the Cooking: Low and slow is key when making apple butter. Allowing it to cook for the full time helps deepen the flavors.
– Taste and Adjust: Before jarring the apple butter, taste it! If it needs more sweetness or spice, make the adjustments to suit your palate.
Recipe Variation
Exploring variations of Homemade Apple Butter can add a unique twist. Here are some ideas:
1. Cider-Infused Apple Butter: Replace some of the sugar with apple cider for an added depth of flavor.
2. Maple Apple Butter: Substitute the brown sugar with pure maple syrup for a rich, earthy sweetness.
3. Spiced Apple Butter: Incorporate additional spices such as cloves or ginger for a more complex flavor profile.
4. Nutty Addition: Stir in a few tablespoons of chopped walnuts or pecans right before blending for a delightful crunch.
5. Berry Apple Butter: Add a cup of mashed ripe berries, like raspberries or blackberries, to the apple mixture for a fruity twist.
Freezing and Storage
Knowing how to store your Homemade Apple Butter will help it last longer:
– Storage: Keep the jars in a cool, dark place. When opened, store in the refrigerator for up to 3 weeks.
– Freezing: For longer storage, freeze in approved containers. Apple butter can last up to a year in the freezer. Just ensure you leave enough space for expansion.
Special Equipment
While making Homemade Apple Butter is straightforward, a few tools can help streamline the process:
– Slow Cooker or Heavy Pot: A slow cooker minimizes hands-on time and allows for a low and slow cooking process.
– Blender or Immersion Blender: Helps puree the mixture to achieve a smooth consistency.
– Mason Jars: Essential for storing your apple butter. Make sure to have lids on hand that seal correctly.
– Canning Tools: If you choose to can your apple butter, invest in canning tools such as a jar lifter and canning funnel.
Frequently Asked Questions
How do I know if my apple butter is ready?
When the apple mixture thickens and darkens in color, it’s a good indication that it’s ready. You can also do the spoon test; if it holds shape when placed on a spoon, it’s done.
Can I use a different sweetener?
Absolutely! You can use honey, agave syrup, or coconut sugar as alternatives to granulated and brown sugar.
Is it necessary to process the jars for long-term storage?
Yes, if you want to keep the apple butter shelf-stable. Processing them in a boiling water bath helps create a vacuum seal.
Can I make apple butter with store-bought applesauce?
Yes, while the flavor may differ, you can cook down unsweetened applesauce with spices and sweeteners for a quicker version.
Conclusion
Creating your own Homemade Apple Butter is not only a rewarding process but also a fantastic way to savor the flavors of autumn year-round. With its rich, smooth texture and warm spice notes, it’s a versatile spread that can enhance a variety of dishes. Whether enjoyed as a breakfast topping, a sandwich spread, or a special gift, your homemade batch will delight family and friends. Don’t hesitate to get creative with variations and bonding experiences as you explore this time-honored recipe. Once you taste your first spoonful, you’ll understand why this homemade delight is so beloved.