Garlic Butter Bread Rolls: An Incredible Ultimate Recipe You’ll Adore
Garlic Butter Bread Rolls are an amazing addition to any meal, elevating your dining experience to a whole new level. The soft, fluffy texture of the rolls paired with the rich, savory flavor of garlic and butter creates a divine harmony that is utterly irresistible. Whether you’re having a cozy family dinner or hosting a festive gathering, these Garlic Butter Bread Rolls will steal the spotlight on your table.
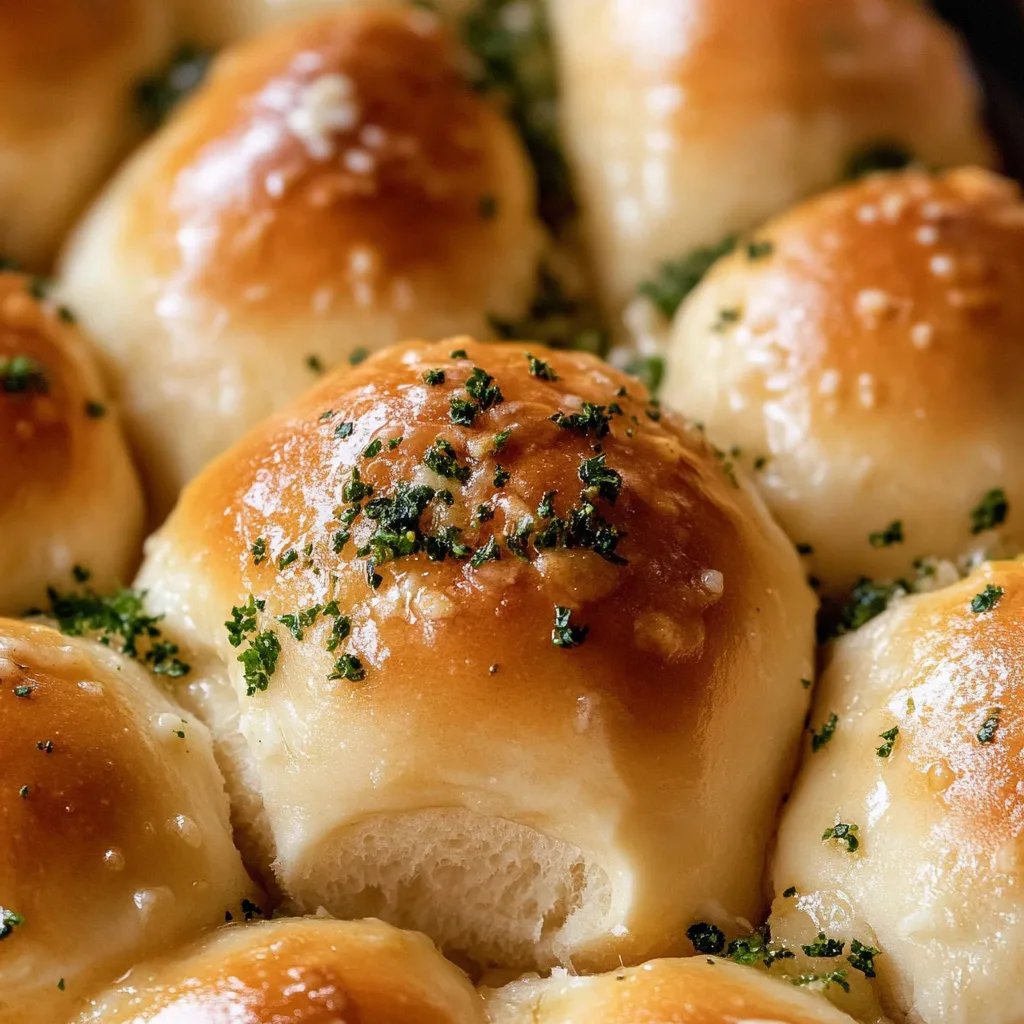
Imagine pulling a warm, golden-brown roll apart, revealing its fluffy interior, while the irresistible aroma of garlic fills the air. So many things make these rolls fantastic: the simplicity of the ingredients, the ease of preparation, and the remarkable satisfaction they bring to your palate. In this guide, you’ll learn why this recipe is worth your time and effort, along with all the tips and ingredients involved to create your new favorite bread rolls.
Once you taste these Garlic Butter Bread Rolls, you’ll understand why they’re such a beloved comfort food by so many. The blend of warm bread and aromatic garlic butter creates an experience that’s both delicious and heartwarming. Let’s explore the details of this recipe and get your kitchen smelling wonderful!
Why You’ll Love This Recipe
There are countless reasons to love Garlic Butter Bread Rolls. Here are just a few:
1. Easy to Make: The hands-on time is minimal, making this recipe perfect for both experienced bakers and beginners.
2. Versatile: These rolls complement a wide range of main dishes, from hearty stews to light salads.
3. Mouthwatering Aroma: The scent of garlic and butter wafts through your home while baking, creating an inviting atmosphere.
4. Perfect Texture: You will achieve soft, fluffy rolls that provide a delightful contrast to the buttery filling.
5. Ideal for Sharing: These rolls are perfect for gatherings, encouraging guests to break bread and enjoy together.
6. Customizable: Feel free to add your favorite herbs or spices to elevate the flavor even more.
With these irresistible traits, you’ll quickly realize why Garlic Butter Bread Rolls are a staple recipe that deserves a spot in your kitchen.
Preparation and Cooking Time
Getting your Garlic Butter Bread Rolls ready will take approximately 1 hour and 30 minutes. This includes both preparation and baking time. Here’s a breakdown of what to expect:
– Preparation Time: 30-40 minutes
– Resting Time: 30 minutes (for the dough to rise)
– Baking Time: 20 minutes
This timeline may vary slightly based on your kitchen practices, but it provides a useful guideline to plan your cooking accordingly.
Ingredients
– 3 ½ cups all-purpose flour
– 1 tablespoon sugar
– 2 teaspoons salt
– 2 ¼ teaspoons instant yeast (1 packet)
– 1 cup warm water (110°F/43°C)
– ¼ cup unsalted butter (melted)
– 4 cloves garlic (minced)
– ¼ cup fresh parsley (chopped, optional)
– ½ cup unsalted butter (for brushing)
– Extra garlic powder or parsley for garnish (optional)
Step-by-Step Instructions
Making Garlic Butter Bread Rolls involves a few straightforward steps. Follow these instructions to ensure your rolls come out perfectly:
1. Combine Dry Ingredients: In a large mixing bowl, combine the all-purpose flour, sugar, salt, and instant yeast. Stir these ingredients together until well mixed.
2. Add Warm Water: Make a well in the center of the dry ingredients and pour in the warm water. Add the melted butter as well.
3. Mix the Dough: Stir the mixture with a wooden spoon until it comes together in a rough ball. You may need to add a bit more flour if the dough is too sticky.
4. Knead the Dough: Turn the dough out onto a floured surface. Knead it for about 8-10 minutes or until it becomes smooth and elastic.
5. First Rise: Place the kneaded dough in a lightly greased bowl. Cover it with a clean kitchen towel and let it rise in a warm place until it doubles in size, about 30 minutes.
6. Prepare Garlic Butter: In a small bowl, mix the melted butter, minced garlic, and chopped parsley. Set aside to allow the flavors to blend.
7. Shape the Rolls: After the dough has risen, punch it down gently. Divide it into equal-sized pieces (about 12-15). Roll each piece into a ball and arrange them in a greased baking dish, allowing space between each roll.
8. Second Rise: Cover the shaped rolls with the kitchen towel and let them rise again for about 15-20 minutes, until they puff up.
9. Preheat the Oven: While the rolls rise, preheat your oven to 375°F (190°C).
10. Brush with Garlic Butter: When your rolls have risen, brush the tops generously with the garlic butter mixture.
11. Bake: Place the baking dish in the preheated oven and bake for 15-20 minutes or until the rolls are golden brown and fully cooked.
12. Final Brush of Butter: Once out of the oven, immediately brush the rolls with any remaining garlic butter for added flavor.
13. Garnish: If desired, sprinkle with additional garlic powder or chopped parsley for garnish.
Follow these steps, and you’ll create stunningly fluffy Garlic Butter Bread Rolls bursting with flavor!
How to Serve
When it comes to serving Garlic Butter Bread Rolls, there are several delightful options to enhance your dining experience:
1. With Dipping Sauce: Pair the rolls with extra melted garlic butter or a savory herb-infused olive oil for dipping.
2. Great with Soups: Serve alongside your favorite soup, such as tomato basil or a hearty minestrone, for a comforting meal.
3. Accompaniment to Main Dishes: These rolls complement a variety of main courses, from roasted meats to pasta dishes, adding a delightful touch.
4. Toast for Breakfast: Use leftover rolls to make delicious garlic toast for breakfast or brunch by simply reheating them and adding a sprinkle of cheese.
5. Presentation: Arrange warm rolls on a decorative plate or in a basket lined with a cloth for a cozy presentation at the table.
With the right serving suggestions, these Garlic Butter Bread Rolls can elevate any meal, making it more memorable and enjoyable for everyone involved. Enjoying rolls that are warm and fragrant straight from the oven will create a culinary experience to cherish.
Additional Tips
– Use Fresh Garlic: Fresh garlic will give your Garlic Butter Bread Rolls a more vivid flavor compared to powdered garlic. Mince or crush the garlic just before use for the best aroma.
– Experiment with Herbs: While parsley is a classic, you can experiment with other herbs like rosemary, thyme, or oregano mixed into the garlic butter. This will add layers of flavor.
– Check Dough Consistency: The dough should be soft and slightly tacky but not overly sticky. Adjust flour and water quantities slightly if needed while mixing.
– Baking Sheet Lining: Line your baking dish with parchment paper for easy removal of the rolls and easy cleanup. This helps prevent sticking.
– Adjust Bake Time: Keep an eye on the rolls during the last few minutes of baking. Your oven may bake differently, so check for a golden-brown color.
– Reheat Leftovers: If you have leftover rolls, wrap them in foil and reheat them in the oven at 350°F (175°C) for about 10 minutes to regain that freshly baked warmth.
Recipe Variation
Get creative with your Garlic Butter Bread Rolls! Here are some delightful variations to consider:
1. Cheesy Garlic Rolls: Roll in shredded cheese such as mozzarella or cheddar before shaping and baking for a gooey, cheesy interior that takes them to the next level.
2. Herbed One Roll: Instead of using just garlic, incorporate a blend of dried Italian herbs like basil, oregano, and thyme into the dough for herbed rolls.
3. Spicy Kick: Add a pinch of red pepper flakes to your garlic butter for a spicy version that packs a punch.
4. Sweet Version: For a unique twist, try adding a hint of sugar and some cinnamon to the dough for a subtly sweet roll that pairs well with coffee.
5. Stuffed Rolls: Fill your rolls with cooked spinach and feta cheese or bacon and cheese before baking for a delicious surprise inside.
Freezing and Storage
Preserving your Garlic Butter Bread Rolls is simple with these tips:
– Storage: Store the rolls in an airtight container at room temperature for up to three days. They will remain soft, but for longer freshness, refrigerate them.
– Freezing: To freeze, let the rolls cool completely. Place them in a freezer-safe bag or container, separating layers with parchment paper. They can last up to three months in the freezer.
– Reheating: When ready to enjoy, reheat frozen rolls in the oven at 350°F (175°C) for about 10-15 minutes. They will come out warm and fluffy as if freshly baked.
Special Equipment
To make your baking experience easier, gather the following equipment:
– Mixing Bowls: Use multiple sizes for combining ingredients.
– Baking Dish: A 9×13 inch or similar-sized pan to bake the rolls.
– Rolling Pin: Useful if you choose to roll out the dough.
– Wooden Spoon: Ideal for mixing and kneading the dough.
– Dough Scraper: Helpful for cutting the dough into equal portions neatly.
– Kitchen Towel: Essential for covering the dough during its rising phases.
Frequently Asked Questions
Can I use bread flour instead of all-purpose flour?
Yes, bread flour can be used for a chewier texture. The gluten content is higher, which makes for a sturdy roll.
What can I serve with Garlic Butter Bread Rolls?
These rolls pair fantastically with soups, stews, and salad dishes, and are also great for mopping up sauce on your dinner plate.
How do I know my dough has risen sufficiently?
The dough should have doubled in size. A good test is to gently poke the dough with a finger; if the indentation stays, it has risen enough.
Can I double this recipe?
Absolutely! Just use a larger mixing bowl and baking dish to accommodate the increased quantity.
Are these rolls suitable for vegan diets?
Yes! You can easily adapt the recipe by using vegan butter and a substitute for the butter in the dough, such as almond or coconut milk.
Conclusion
Garlic Butter Bread Rolls are more than just a side dish; they’re a culinary hug that brings warmth and flavor to any meal. Their irresistible combination of flaky, soft texture and savory garlic butter is sure to impress anyone who tries them. Whether served alone as a snack or as an addition to your favorite ensemble of dishes, these rolls are bound to become a beloved staple in your kitchen. Create them for your next gathering or simply enjoy them at home; you’ll find that every bite is a small celebration.