Christmas Tree Cake: An Amazing Ultimate Recipe You Must Try
Christmas Tree Cake is not just a dessert; it’s an experience that captures the enchantment of the holiday season. This delightful cake, shaped like a Christmas tree and adorned with festive decorations, is sure to bring joy and excitement to your holiday celebrations. Imagine gathering around the table with family and friends, your Christmas Tree Cake taking center stage, sparkling with colors and flavors that complement each other beautifully. This cake is more than just a treat; it’s a wonderful way to spread holiday cheer and create lasting memories.
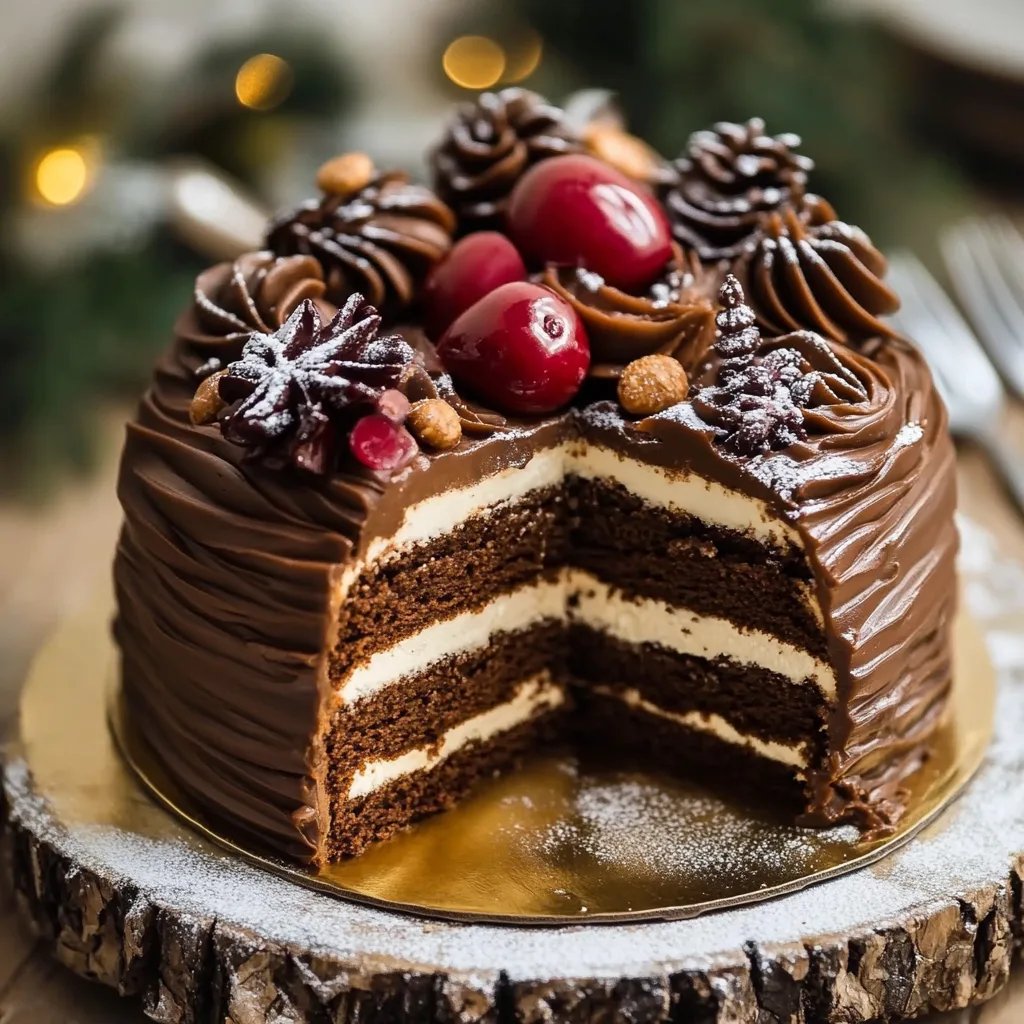
From the first slice, you will be transported into a world of flavor and festivity. The cake is usually made with rich chocolate or vanilla layers, filled with creamy frosting and vibrant decorations, evoking the seasonal atmosphere. It’s not just about taste; it’s the aesthetic appeal and the joy it brings to every gathering that makes this cake absolutely amazing.
In this article, we will delve into why the Christmas Tree Cake is a must-try, detail its preparation time, list essential ingredients, and provide a step-by-step guide to creating this masterpiece. Whether you’re an experienced baker or just starting, this festive recipe will surely impress your guests and add an incredible touch to your holiday celebrations.
Why You’ll Love This Recipe
There are many reasons why the Christmas Tree Cake will steal your heart this holiday season:
1. Visual Appeal – This cake is a feast for the eyes. Its festive shape and bright decorations make it the highlight of any holiday table.
2. Family Fun – Decorating the cake can be a delightful family activity, allowing everyone to get involved in the festive spirit.
3. Flavor Variety – The cake can be tailored to suit various tastes, allowing a mix of chocolate, vanilla, and fun flavors based on your preferences.
4. Simple Ingredients – Many of the ingredients are pantry staples, which makes this recipe easy to prepare.
5. Versatility – You can customize the cake with various toppings, from candies to edible glitter, making each creation unique.
6. Memorable Centerpiece – A Christmas Tree Cake is an unforgettable addition to your holiday festivities, guaranteed to leave an impression.
Once you make this cake, you’ll understand why it’s a holiday favorite that keeps bringing people together. Each slice embodies the warmth, joy, and love of the Christmas season.
Preparation and Cooking Time
Creating your Christmas Tree Cake is a rewarding experience that doesn’t take too long. Here’s a breakdown of the time needed:
– Preparation Time: 30 minutes
– Cooking Time: 35-40 minutes
– Cooling Time: 30 minutes
Overall, you can expect to spend about 1 hour and 30 minutes from start to finish, making it a manageable project for even the busiest holiday schedules.
Ingredients
– 2 ½ cups all-purpose flour
– 2 cups granulated sugar
– ½ cup unsweetened cocoa powder (for chocolate cake)
– 1 cup whole milk
– ½ cup vegetable oil
– 3 large eggs
– 1 tablespoon baking powder
– 1 teaspoon vanilla extract
– ¼ teaspoon salt
– Green food coloring (for frosting)
– Red and yellow candies (for decoration)
– Powdered sugar (for dusting)
Step-by-Step Instructions
Creating the perfect Christmas Tree Cake can be straightforward if you follow this step-by-step guide:
1. Preheat the Oven: Set your oven to 350°F (175°C) and grease your Christmas tree cake pan.
2. Mix Dry Ingredients: In a large bowl, sift together the flour, sugar, cocoa powder (if using), baking powder, and salt.
3. Combine Wet Ingredients: In another bowl, whisk together the milk, oil, eggs, and vanilla extract until the mixture is smooth.
4. Combine Mixtures: Gradually add the wet ingredients to the dry ingredients, stirring until the batter is well combined and smooth.
5. Color the Batter: If desired, you can separate a portion of the batter and mix in green food coloring for a marbled effect.
6. Pour Batter: Pour the batter into the prepared cake pan evenly, ensuring a flat surface.
7. Bake: Place in the preheated oven and bake for 35-40 minutes or until a toothpick inserted in the center comes out clean.
8. Cool: Remove the cake from the oven and allow it to cool in the pan for about 30 minutes. Then transfer it to a wire rack to cool completely.
9. Prepare Frosting: While the cake is cooling, make your frosting by beating together butter, powdered sugar, and remaining vanilla extract until creamy. Add green food coloring for a festive touch.
10. Assemble the Cake: Once the cake is cool, frost the top and sides of the Christmas Tree Cake with green frosting to create a tree effect.
11. Decorate: Use candies to represent ornaments or garland on the cake. Get creative with your decorations!
12. Final Touch: Optionally, dust with powdered sugar for a snowy finish.
With these straightforward steps, you’ll create a stunning Christmas Tree Cake that is as delightful to look at as it is to eat.
How to Serve
Serving your Christmas Tree Cake can be just as joyful as making it! Here are some tips to ensure it dazzles your guests:
1. Presentation: Use a decorative cake stand to elevate the cake’s visual appeal, allowing the vibrant colors to shine.
2. Slice Sizes: Offer generous slices that are easy to manage, encouraging guests to enjoy seconds.
3. Accompaniments: Serve with whipped cream, a scoop of vanilla ice cream, or a drizzle of chocolate sauce for added indulgence.
4. Festive Plates: Use holiday-themed plates and napkins to enhance the festive atmosphere around the dessert table.
5. Pair with Drinks: Consider pairing your cake with warm cider, hot chocolate, or coffee, balancing the sweetness with cozy drinks.
By focusing on these aspects of serving, your Christmas Tree Cake will not only taste incredible but also create a memorable experience for you and your guests. Enjoy the holiday cheer and the delightful flavors wrapped in your festive creation!
Additional Tips
– Use Quality Ingredients: For the best results, select high-quality vanilla extract and cocoa powder. This enhances the overall flavor profile of your Christmas Tree Cake.
– Room Temperature Ingredients: Allow ingredients like eggs and milk to reach room temperature before mixing. This ensures better blending and a fluffier cake.
– Test for Doneness: Check for doneness by inserting a toothpick in the center. It should come out clean for perfectly baked cake layers.
– Decorate Immediately: Once frosted, decorate the cake right away. This prevents the frosting from drying out and helps the decorations stick better.
– Experiment with Flavors: Don’t hesitate to infuse different flavors, like almond extract or peppermint essence, into your frosting for a unique twist.
Recipe Variation
Get creative with different versions of your Christmas Tree Cake! Here are some fun ideas:
1. Gingerbread Cake: Swap the vanilla or chocolate with a gingerbread cake mix for a spicy twist that embodies the holiday spirit.
2. Red Velvet Variation: Use a red velvet cake base instead of traditional flavors to create a stunning visual and a unique flavor.
3. Gluten-Free Option: Substitute regular flour with a 1:1 gluten-free flour blend for a gluten-free Christmas Tree Cake that everyone can enjoy.
4. Add Fruit Filling: Incorporate a layer of cranberry or raspberry filling between the cake layers for a delightful tart contrast.
5. Cream Cheese Frosting: Instead of buttercream, try cream cheese frosting for a tangy kick that complements the cake perfectly.
Freezing and Storage
– Storage: Keep your Christmas Tree Cake in an airtight container in the refrigerator. It stays fresh for about 4-5 days.
– Freezing: You can freeze the unfrosted cake for up to 3 months. Wrap it tightly in plastic wrap followed by aluminum foil to protect against freezer burn.
Special Equipment
To successfully prepare your Christmas Tree Cake, you’ll need a few essential kitchen tools:
– Christmas Tree Cake Pan: The unique shape requires a specialty pan to create that iconic tree silhouette.
– Mixing Bowls: Standard and larger sizes for mixing cake batter and frosting.
– Electric Mixer: For effortless mixing, especially when making frosting.
– Offset Spatula: A helpful tool for frosting your cake smoothly and evenly.
– Cake Stand: To display your beautiful cake and make serving easier.
Frequently Asked Questions
How do I know when the cake is done baking?
Insert a toothpick into the center. If it comes out clean or with a few crumbs, the cake is ready.
Can I make this cake ahead of time?
Absolutely! Preparing it the day before allows the flavors to meld beautifully.
Is this cake suitable for dietary restrictions?
You can create a gluten-free version by using an appropriate flour substitute.
Can I eliminate the decorations?
Certainly! You can keep it simple with just frosting if preferred, without any additional decorations.
Does it have to be refrigerated?
Storing it in the fridge helps maintain its freshness, especially with frosting involved, but it can also be kept at room temperature for a short period.
Conclusion
The Christmas Tree Cake is more than just a dessert; it encapsulates the spirit of the holiday season. This recipe is easy to follow and brings festive cheer to any gathering. The wonderfully sweet layers, adorned with decorations, create not just a delicious treat but a centerpiece that sparks joy. Whether for a family dinner or a holiday party, this cake is sure to impress and create lasting memories. So, gather your loved ones, unleash your creativity, and make a stunning Christmas Tree Cake to celebrate the season!